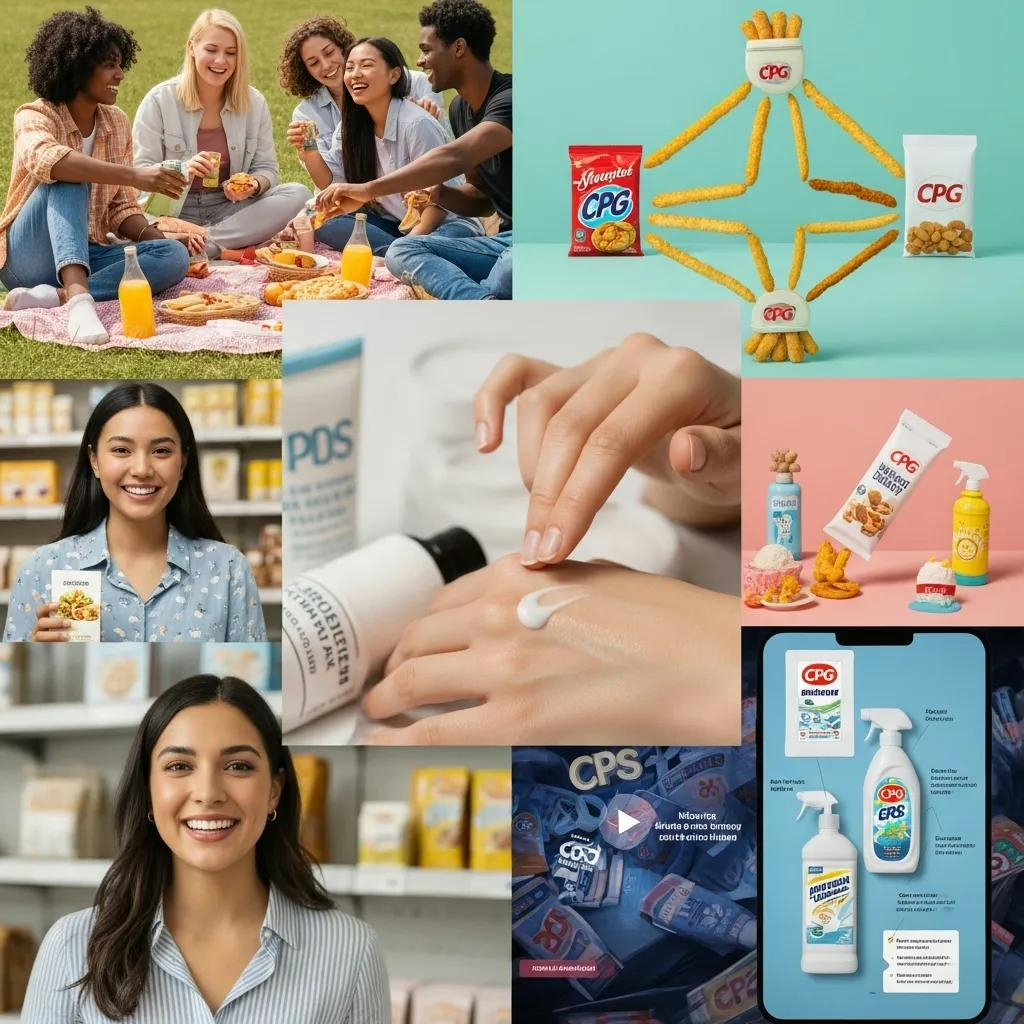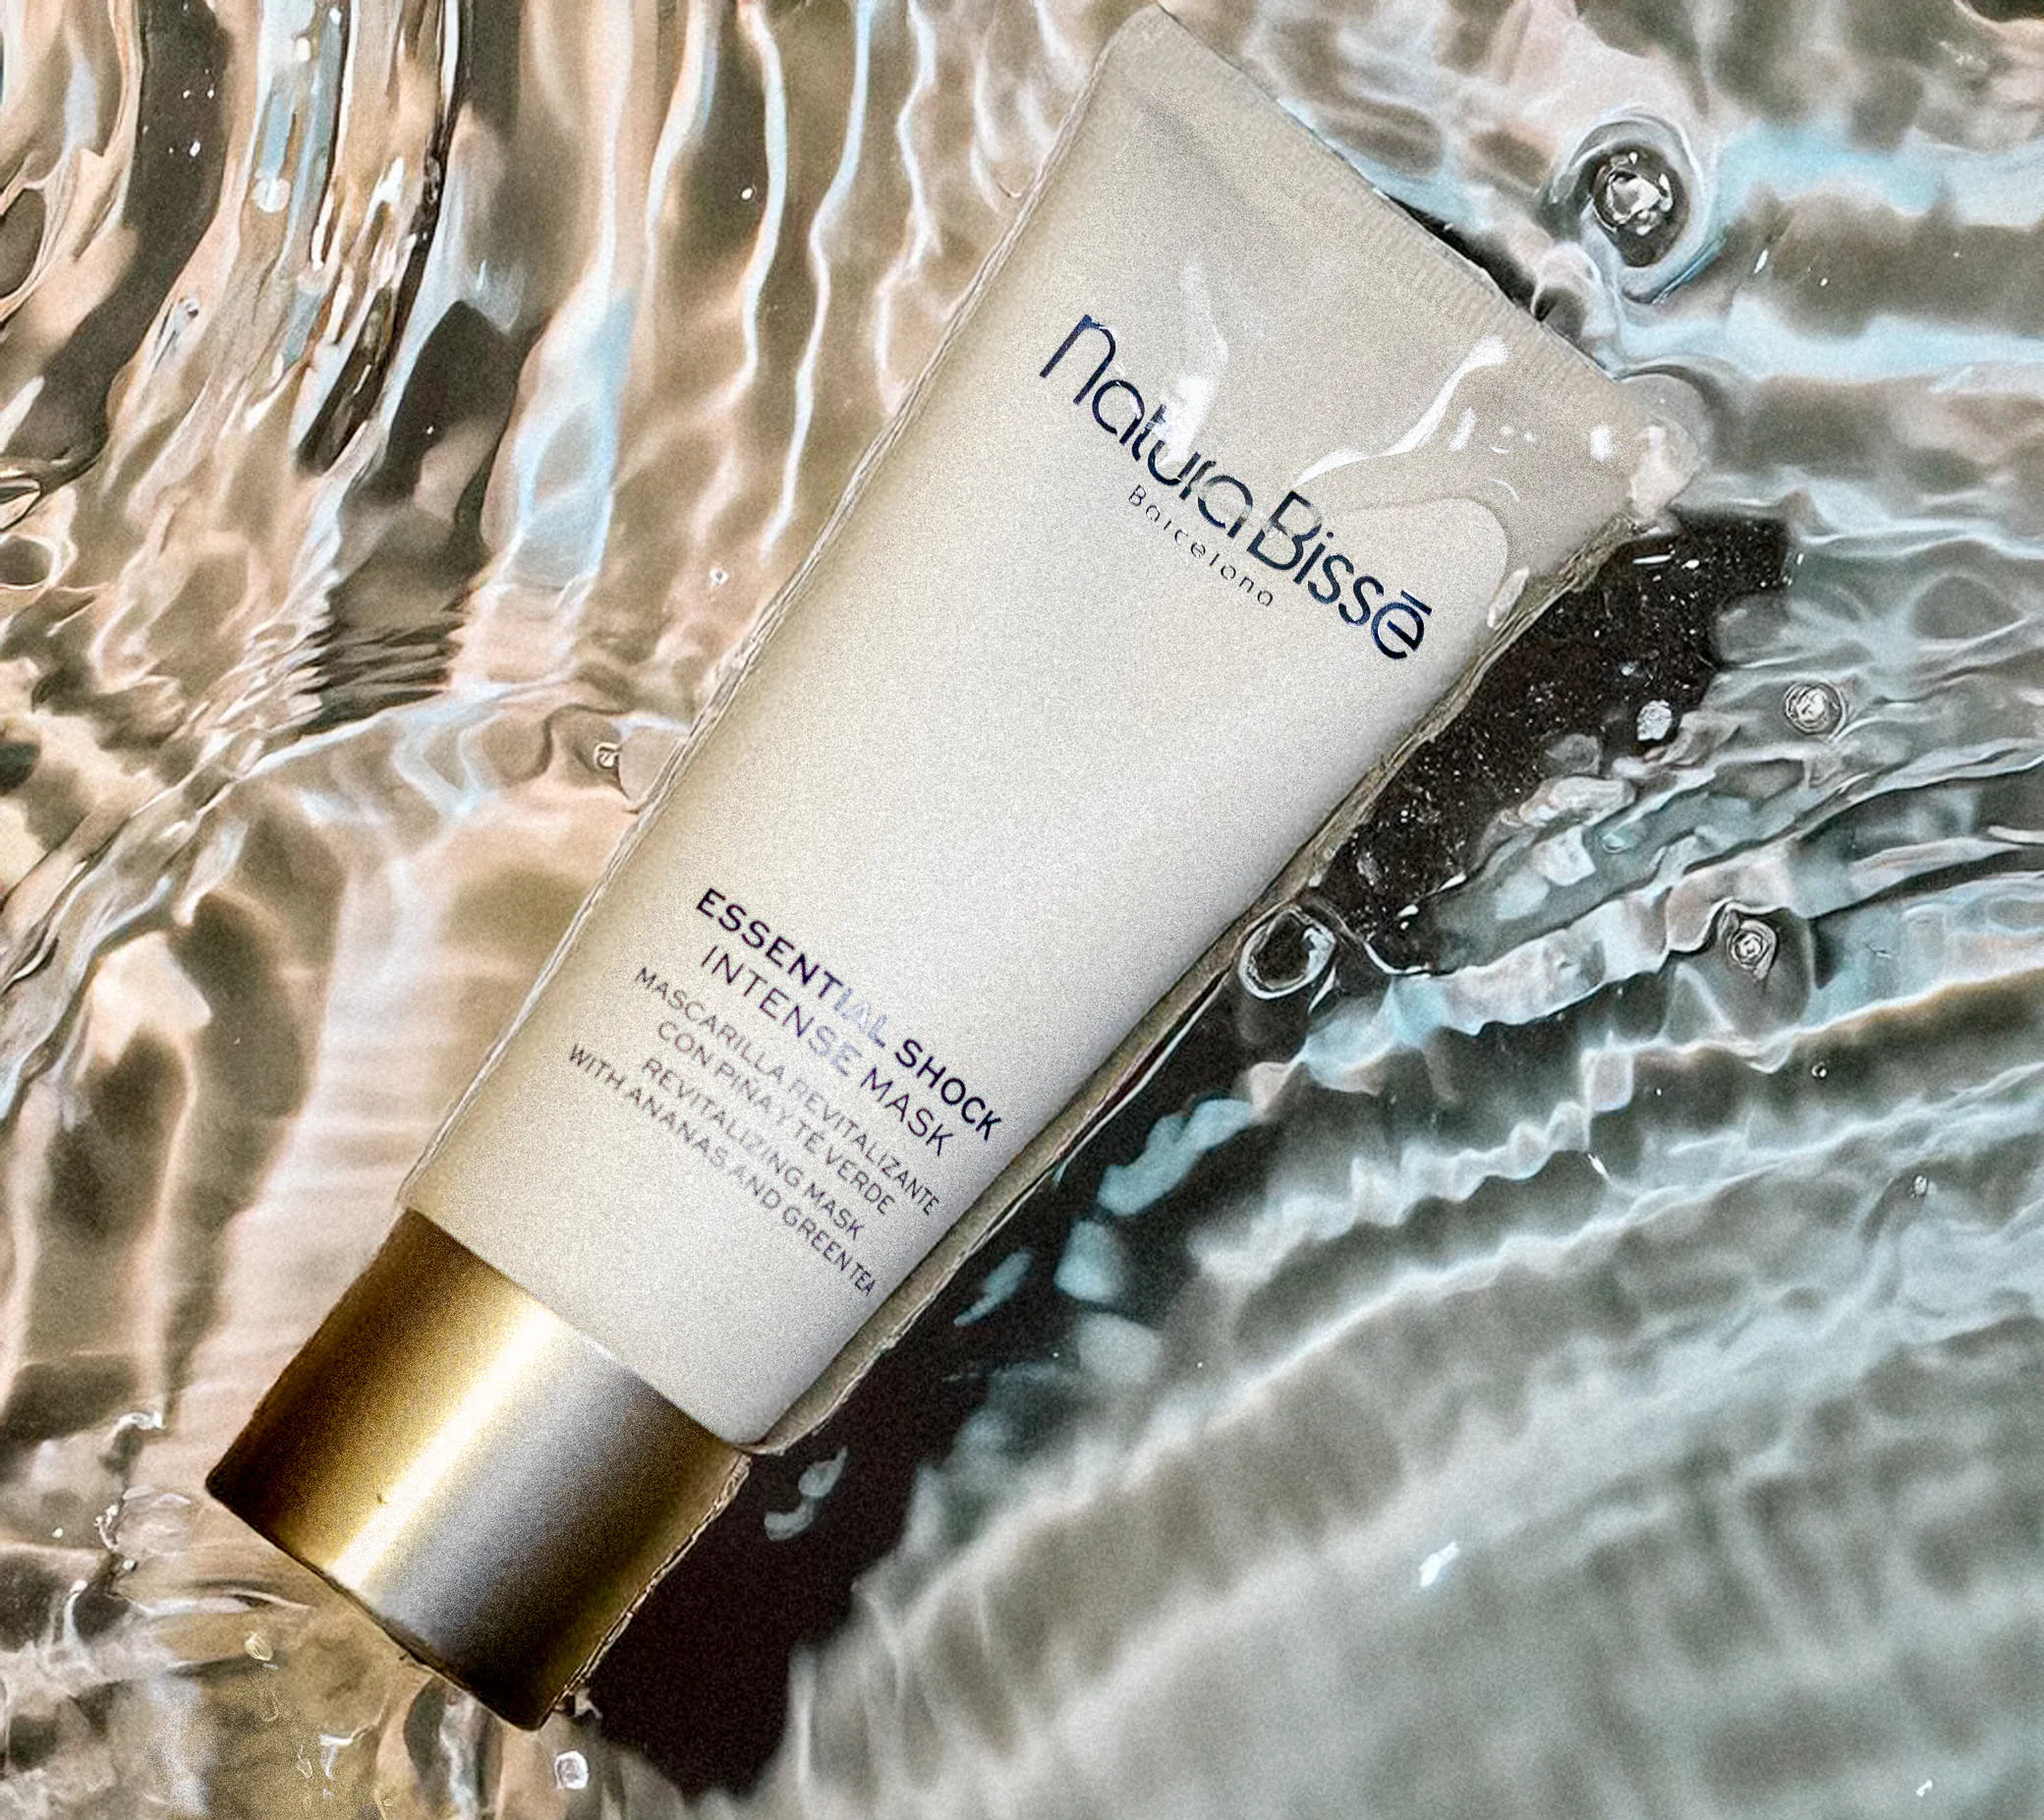
Cosmetics photography has three jobs: show the packaging without glare, show each shade the way it looks in daylight, and show texture through swatches. Use broad soft light for mirrored tubes and compacts, a macro lens for pans and lipstick bullets, and a gray card or color chart on each setup.
Key takeaways
- Shade accuracy comes first. A lipstick that arrives two tones off the photo earns a refund request.
- Metallic tubes and compact lids act as mirrors, so you light the surface they reflect and leave the product alone.
- Matte formulas want soft light. Shimmer and glitter need one small hard light to sparkle.
- Swatches dry and change color within minutes, so set the camera before you open the product.
- Shoot matte cartons yourself if you like. Hire for mirrored packaging, full shade ranges and on-model work.
What makes cosmetics photography different from other product work?
Color cosmetics add two problems that most products lack: the buyer is purchasing a color, and the product itself is a texture. This guide covers makeup such as lipstick, foundation, eyeshadow, blush, mascara and nail polish. For cleansers, serums and jars, read my separate guide to skincare and beauty product photography, which covers droplets, pumps and frosted glass.
A wrong shade costs money. The National Retail Federation and Happy Returns estimated in their 2025 report that shoppers would return 19.3% of online sales that year, across all categories. You cannot restock a swatched lipstick, so a shade mismatch costs you the unit along with the refund.
What shots does a makeup brand need?
A makeup product needs a closed packshot, an open shot that shows the product itself, a swatch and a shade lineup. Add on-skin and on-model images for the shades that sell the most. I plan the session from this list.
| Shot | Purpose | Notes |
|---|---|---|
| Closed packshot on white | Marketplace main image | One unit, label square to camera |
| Open product | Bullet, pan, wand or brush visible | Use a fresh, untouched unit |
| Macro of the product surface | Embossing, shimmer, pressed pattern | Macro lens, f/11 or smaller |
| Texture swatch on a surface | Finish and opacity | Smear, swipe, crush or drip |
| Arm or hand swatch | Shade on skin | Repeat on light, medium and deep skin tones |
| Shade lineup | The full range in one frame | One session, one light setup |
| On-model close-up | Lips, eyes or cheek in wear | Makeup artist and model release |
| Styled group or flat lay | Collections, kits, gift sets | Brand colors and props |
How do you prepare makeup for a shoot?
Bring three units of each product and handle them with gloves. One unit stays sealed for the closed packshot, one opens for the hero shot, and one goes under the palette knife for swatches.
- Inspect each pan and bullet under a bright light and pick the unit with centered embossing and no chips.
- Chill lipsticks in a refrigerator before the shoot so the bullet holds a crisp edge under warm lights.
- Sweep loose powder off pan rims with a soft dry brush and lift dust with a rocket blower.
- Wipe metal and glossy plastic with a microfiber cloth, then stop touching it.
- Sharpen pencils and wipe mascara wands down to a clean, even coat.
Dust that you cannot see by eye shows at macro distance, so use the blower before each frame. Cloning specks out later takes far longer.
How do you light reflective makeup packaging?
Light the thing the packaging reflects. A gold lipstick tube or a mirrored compact shows whatever sits in front of it, so I build a clean white environment for it to see and shape that environment with cards.
Tubes and cylinders
Place a tall strip softbox or a diffusion panel on each side of the tube. Each one draws a long, even highlight down the cylinder. Slide a strip of black card between the light and the product to add a dark line at the edge, which separates a silver tube from a white background.
Compacts, palettes and mirrors
Tilt the lid until the mirror reflects a white card and nothing else. For a flat palette lid, hang a large diffusion sheet overhead and light through it, so the lid picks up one smooth gradient. Check the frame at 100% for your own reflection, the tripod and the ceiling.
Glass bottles
Foundation and nail polish bottles need the color to glow and the glass edges to hold a line. Put a white card behind the bottle, light the card, and add a soft light from the side for the label. My guide to jewelry product photography uses the same mirror-control methods at a smaller scale.
How do you photograph makeup swatches and texture?
Set focus, framing and exposure on a stand-in smear, then apply the real swatch and shoot within two minutes. Creams skin over, liquids settle flat and some foundations darken as they dry.
- Mount the camera overhead or at a low angle on a tripod with a macro lens in the 90 to 105 mm range.
- Choose a surface: white acrylic for clean e-commerce swatches, clear glass for backlit gels and glosses.
- Apply the product with a tool that suits it. Use a palette knife for cream smears, a flat brush for foundation swipes and the bullet itself for lipstick strokes.
- Break pressed powder with the tip of a knife and tap the crumbs into place for a crush shot.
- Light from a low side angle so ridges throw small shadows. Raise the light for a glossier look on creams.
- Stop down to f/11 or f/16, or focus stack several frames if the smear has height.
- Wipe the surface with alcohol and repeat for the next shade in the same spot.
Matte versus shimmer
Soft light flatters matte formulas and kills sparkle. For shimmer, metallic and glitter shades, keep the soft light for overall shape and add one small bare light from the side. Move it an inch at a time until the particles catch.
Swatches on skin
Photograph arm swatches on several skin tones under the same light, with the camera and exposure fixed. Label each stripe with the shade name in the layout. Shoppers with deep skin tones cannot judge a foundation or blush from a swatch on a pale arm.
How do you keep makeup colors accurate?
Photograph a gray card or color chart in the first frame of each lighting setup and correct from it. Then compare the screen to the product in your hand.
- Use daylight-balanced flash or high-CRI LED, and switch off the room lights so they do not tint the set.
- Shoot the whole shade range in one session without moving the lights.
- Build a camera profile from the color chart and apply it to each frame.
- Edit on a calibrated monitor and hold the product next to the screen under neutral light.
- Export in sRGB. Etsy’s image requirements ask for sRGB files.
Reds, corals and neon pinks clip first. Check the red channel on the histogram and lower exposure by a third of a stop if a lipstick loses its surface detail.
How far can you retouch makeup photos?
Clean the image and leave the product’s performance alone. I remove dust, fingerprints and stray fibers, straighten labels and even out backgrounds. I do not change a shade’s color, add coverage to a foundation swatch or lengthen lashes in a mascara image.
In the United States, two agencies cover this. The FDA states that cosmetic labeling must be truthful and not misleading, and it leaves advertising to the FTC. The FTC’s advertising guide for small business explains that the agency weighs words and pictures together and expects advertisers to hold proof for their claims before the ad runs. A retouched before-and-after is a claim. This section is general information, so ask your own attorney or compliance lead about specific ads.
Marketplace image rules for cosmetics
Shoot each product large enough for the strictest channel and crop down for the rest. I checked these figures against each platform’s own pages in October 2026.
| Channel | Requirement or recommendation |
|---|---|
| Amazon | Main image on pure white (RGB 255, 255, 255), product filling 85% or more of the frame, 500 to 10,000 pixels on the longest side and above 1,000 pixels for zoom. Swatches and model shots go in the secondary images. |
| Etsy | Up to 20 photos and 2 short videos per listing, images of 2,000 pixels or more, sRGB, horizontal or square first photo. |
| Shopify | Up to 5,000 x 5,000 pixels and 20 MB per image. Shopify suggests 2,048 x 2,048 for square photos. |
| Beauty retailers | Retail partners set their own image specifications. Ask your buyer for the current document before the shoot. |
Amazon publishes its figures in the product photo guide for sellers. My white background product photography guide explains how to reach pure white without gray edges.
Should you shoot cosmetics yourself or hire a photographer?
DIY cosmetics photography works if your packaging is matte and your range is small. A window, white foam board and a phone on a tripod will handle paper cartons, matte tubes and simple arm swatches for a launch.
Hire a photographer if the packaging is mirrored, the range runs past ten shades, or the images feed paid ads and retailer listings. Mirrored surfaces, macro focus stacking and color-managed editing take equipment and practice that a brand owner has little reason to buy. My white-background images run $90 for simple products and $220 for reflective or complex products per image by tier, and volume packshots sit at $85. Styled and lifestyle images run $550, with heavily styled sets at $550 or more. Reflective packaging and swatch work sit toward the upper half because each frame takes longer. See the product photography pricing page for the tiers and the e-commerce product photography guide for planning a catalog shoot.
Frequently asked questions
How do you photograph makeup swatches?
Mount the camera on a tripod with a macro lens, set focus and exposure on a test smear, then apply the real swatch to white acrylic and shoot within two minutes. Light from a low side angle to show texture. Clean the surface with alcohol between shades and keep the light fixed.
How do I make lipstick and eyeshadow colors look accurate in photos?
Photograph a gray card or color chart under your lights, set white balance from it and keep the lights fixed for the whole shade range. Edit on a calibrated monitor with the product beside the screen, watch the red channel for clipping and export the final files in sRGB.
Can I use AI or heavy retouching on makeup product images?
Use retouching to remove dust, fingerprints and background flaws. Avoid changing shade color, coverage or results on skin, because the FTC treats pictures as part of an ad’s claim and expects them to be truthful. If an image shows what the product does, the unretouched product should be able to do it.
How much does cosmetics photography cost?
My white-background images run $90 for simple products and $220 for reflective or complex products per image by tier, with volume packshots at $85. Styled and lifestyle images run $550, and heavily styled sets run $550 or more. Mirrored packaging, swatches, shade count and on-model work with a makeup artist raise the quote. Rush delivery under 72 hours adds 25–50%.
Send me your shade list
For a cosmetics photography quote, send me your SKU and shade list, the channels you sell on, and one photo of the packaging through the contact page. Tell me which shades need swatches or on-model images. I will reply with a shot list, a per-image price and open shoot dates. My product photography page shows the packshot and styled options.