
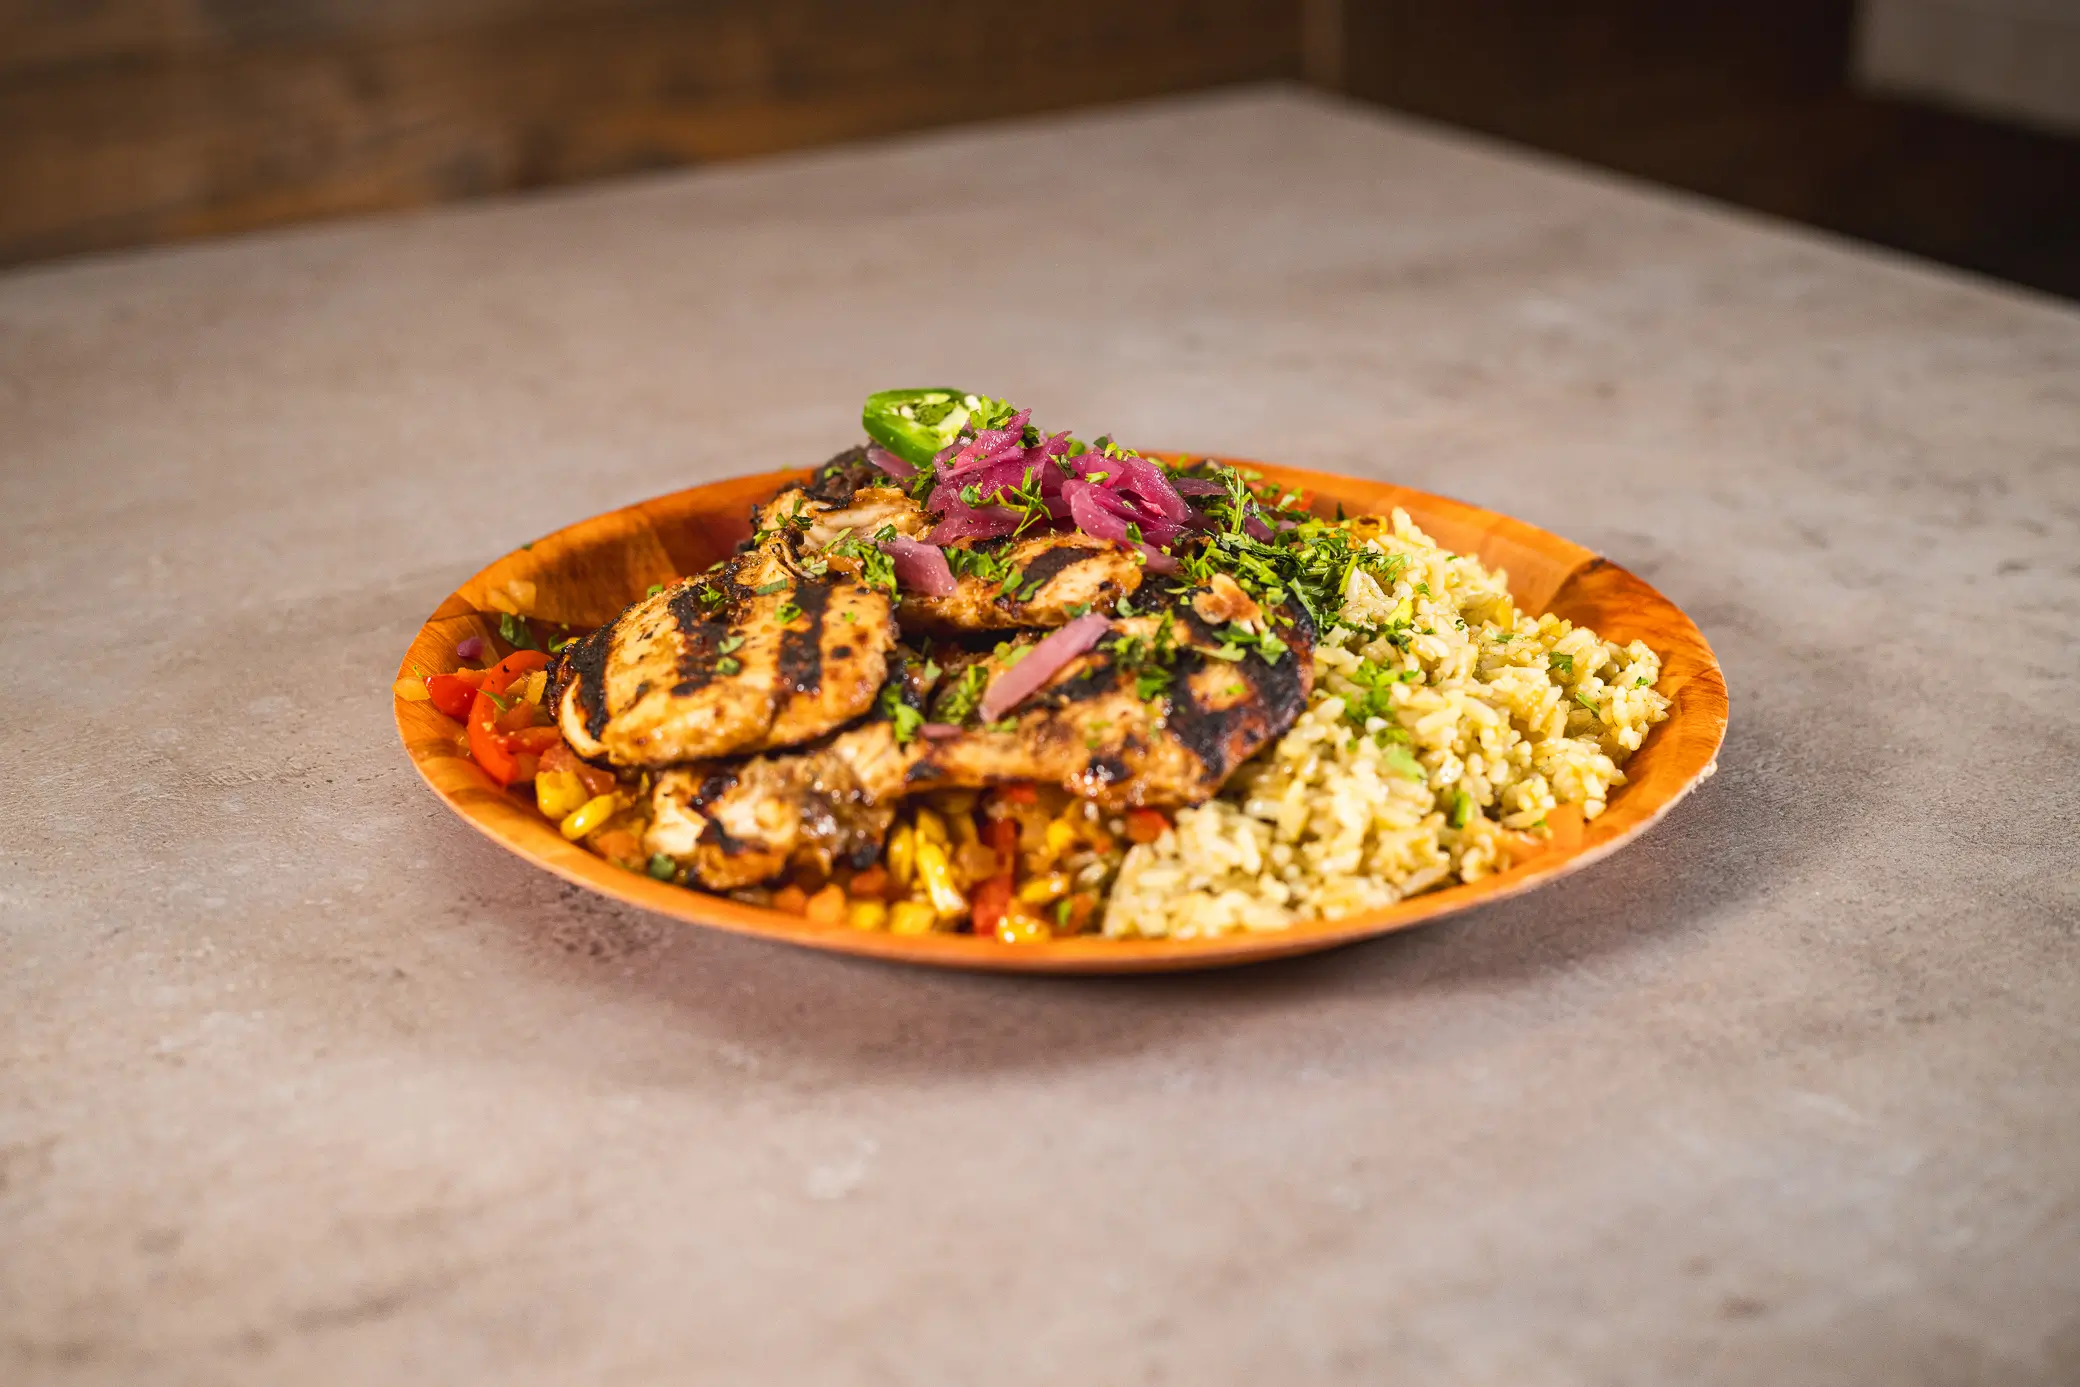
Lighting is the difference between food that looks appetizing and food that looks like a crime scene. I’ve been photographing food and beverages for restaurants, brands, and delivery platforms across South Florida, and the single biggest factor in whether a food photo makes someone hungry or grossed out is the lighting. Not the camera, not the styling, not the editing — the lighting.
Here’s everything I know about food photography lighting, from natural light basics to studio setups that make every dish look its best.
Natural Light: The Starting Point
Natural window light is the go-to for food photography, and for good reason — it looks beautiful, it’s free, and it creates the kind of soft, warm quality that makes food look inviting. The golden rule is side lighting: place your food next to a window with the light coming from 9 o’clock or 3 o’clock (relative to your camera position). This creates shadows that give depth and dimension to the food, making it look three-dimensional rather than flat.
The quality of natural light changes dramatically throughout the day. Early morning and late afternoon light is warm and directional — great for moody, atmospheric food photos. Midday light through a north-facing window is cooler and more even — ideal for bright, clean editorial food photography. Direct sunlight creates harsh shadows and hot spots that are usually unflattering for food, though it can work for a bright, summery aesthetic with the right diffusion.
When I shoot at restaurants during off-hours (which I prefer, as I mentioned in my food photography service page), I always scout the window situation first. A table near a large window with indirect light can produce results that rival any studio setup.
Modifying Natural Light
Raw window light often needs some help. Here are the modifiers I use constantly. A white bounce card (foam board from the craft store) placed opposite the window fills in the shadows without eliminating them — you want some shadow for dimension, just not deep black shadows. The closer the bounce card, the more fill; pull it back for more dramatic contrast.
A diffusion panel (a white translucent sheet or commercial scrim) placed between the window and the food softens the light even further. This is essential when the sun is hitting the window directly — the diffusion panel turns harsh sunlight into the kind of soft, even light that makes food glow.
A black card (black foam board) does the opposite of a bounce card — it absorbs light and deepens shadows. This is useful for creating moody, dramatic food photography where you want rich, dark backgrounds and strong contrast. Place it on the side opposite the window, close to the set, and it carves out deeper shadows that add drama.
Artificial Lighting for Food Photography
Natural light is wonderful but unpredictable and unavailable at night. For consistent, repeatable results — especially for restaurants that need menu photography or brands that need hundreds of product shots — I use continuous LED lights or strobes that mimic the quality of natural light.
The key principle is the same: large, soft light source from the side. I use a large softbox (3-4 feet) positioned where a window would be, creating the same directional, diffused quality as natural window light. The advantage is total control — I can adjust the intensity, color temperature, and angle precisely, and the light stays consistent from the first shot to the hundredth.
For cocktail and beverage photography (which I covered in depth on my beverage photography post), I add a backlight behind the drink. Light passing through a translucent liquid makes it glow and shows the color beautifully. This backlighting technique is what makes a cocktail photo look refreshing versus flat.
Backlighting for Food: The Secret Weapon
Backlighting — placing the main light source behind and slightly above the food — is arguably the most flattering angle for food photography. It creates a rim of light around the edges of the food, shows steam and vapor beautifully, makes sauces and glazes shine, and creates a soft, glowing quality that feels warm and inviting.
The catch with backlighting is that the front of the food falls into shadow. You need a strong bounce card or fill light in front to bring detail back into the front of the dish. The balance between the backlight intensity and the fill is what creates that editorial food photography look — bright, glowing edges with soft, detailed fronts.
Common Food Photography Lighting Mistakes
On-camera flash is the biggest offender. The flat, direct light from a pop-up flash or speedlight mounted on the camera eliminates all shadows, creates shiny hot spots on food surfaces, and generally makes food look terrible. I never use on-camera flash for food — ever.
Overhead fluorescent lighting (the kind in most restaurant kitchens) creates a greenish color cast and unflattering shadows under every raised surface. If you’re shooting in a kitchen, turn off the overheads and use your own lighting or find natural light.
Mixed color temperatures create editing nightmares. If you’re using natural light supplemented by the restaurant’s warm tungsten pendant lights, the food lit by the window looks blue-ish while the food lit by the pendant looks orange. The solution is to either overpower the ambient light with your own consistent lighting, or gel your lights to match the ambient (warming a strobe to match tungsten, for example).
Lighting Setups for Specific Foods
Different foods look best under different lighting approaches. Soups and liquids love backlighting that shows depth and steam. Pizza and flatbreads look great with side lighting that shows texture on the crust and melted cheese. Salads and fresh produce need bright, clean overhead lighting that shows every color vibrantly. Dark dishes like chocolate or BBQ need careful fill lighting to avoid losing detail in the shadows. Anything with a glaze, sauce, or wet surface benefits from a focused accent light that creates a single bright highlight showing the sheen.
Get Your Restaurant’s Food Photography Right
If you’re a restaurant owner shooting your own content for social media, start with the natural light basics — window light, bounce card, shoot from the side. It’ll dramatically improve your phone photos. When you’re ready for professional results for your menu, website, and delivery platforms, check out my food photography services or reach out for a quote.
I photograph food for restaurants throughout Delray Beach, Boca Raton, West Palm Beach, and Fort Lauderdale.